Introduction
But don't forget to talk about some of the other basic characteristics of light like how it moves and how fast it moves. We presented the idea of light travelling in waves with specific wavelengths. It helps to have a picture of a wave as well so that they can easily see what a wavelength is. For our purposes, we avoided discussing the dual wave-particle nature of light so as not to confuse the students. The speed of light is also important to mention, and be sure to stress that all light moves at the same speed through a vacuum, not matter its wavelength.
But what about energy? Which types of visible light are more energetic? Depending on their math abilities, it might be helpful to introduce the equation [frequency]*[wavelength]=[speed of light] to help the students find the relationship between wavelength, frequency, and energy. A great intuitive explanation for this is to ask the kids about a fire. Which part of the flame is hotter: blue or red? So which one has more energy? You can show a diagram of the Visible Spectrum as well to show the range and progression of wavelengths.
Now you can ask the students if there are other types of light besides visible light. Some might know about other types of electromagnetic radiation, but now would be a good time to show the Electromagnetic Spectrum. Giving examples of each type of light is always helpful. It is also a really nice segway into the actual demonstration.
Doing the Demo
What you'll need:
Optional:
|
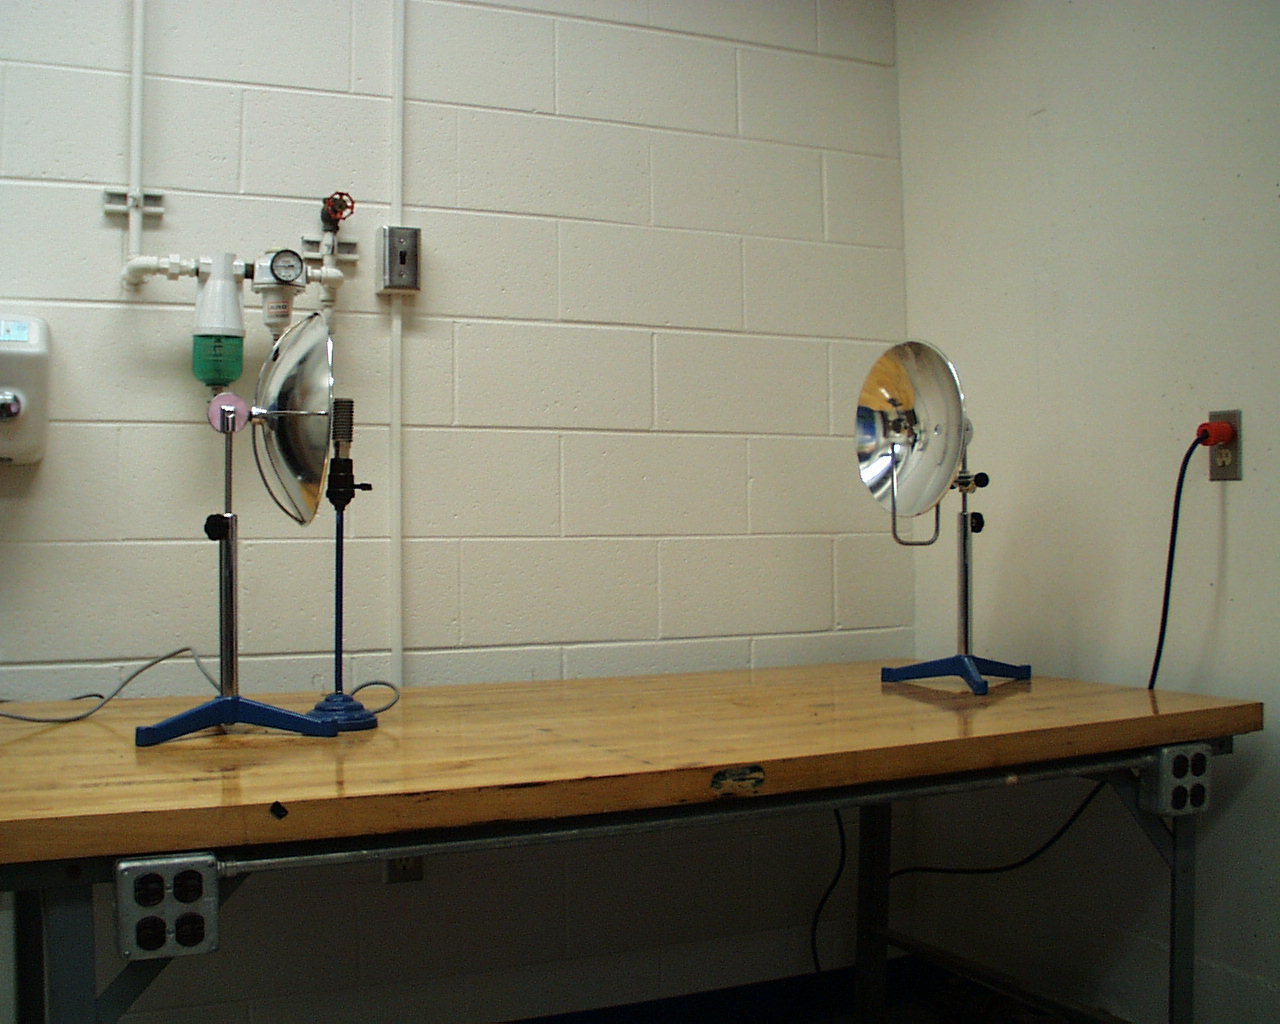 Placement of mirrors Placement of mirrors
|
 Setup of mirror/heating coil Setup of mirror/heating coil
|
|
|
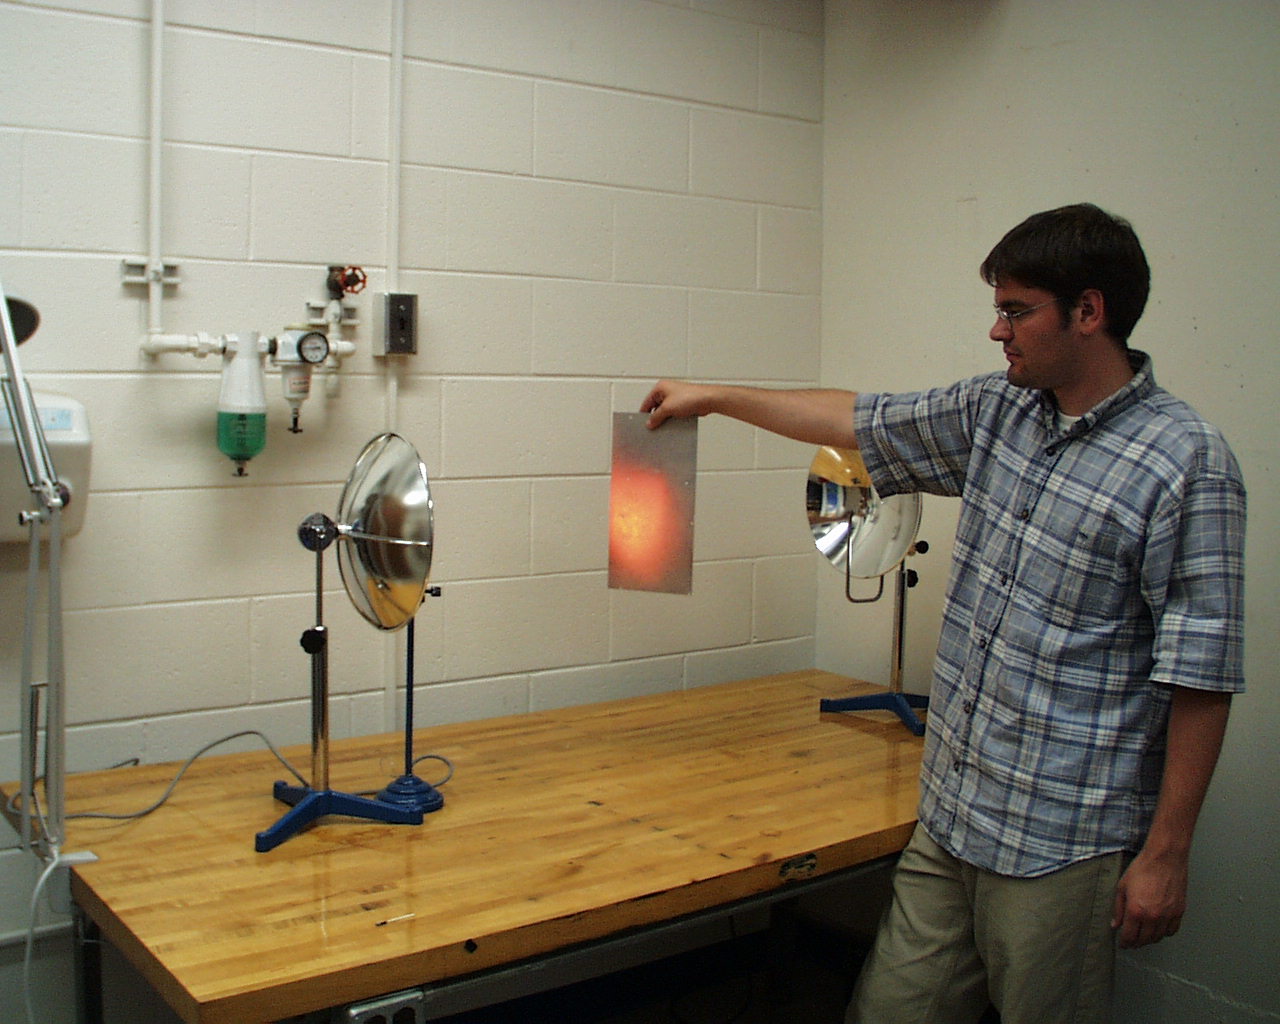 light reflecting on metal light reflecting on metal
|
 Feeling the reflected infrared light Feeling the reflected infrared light
|
|
|
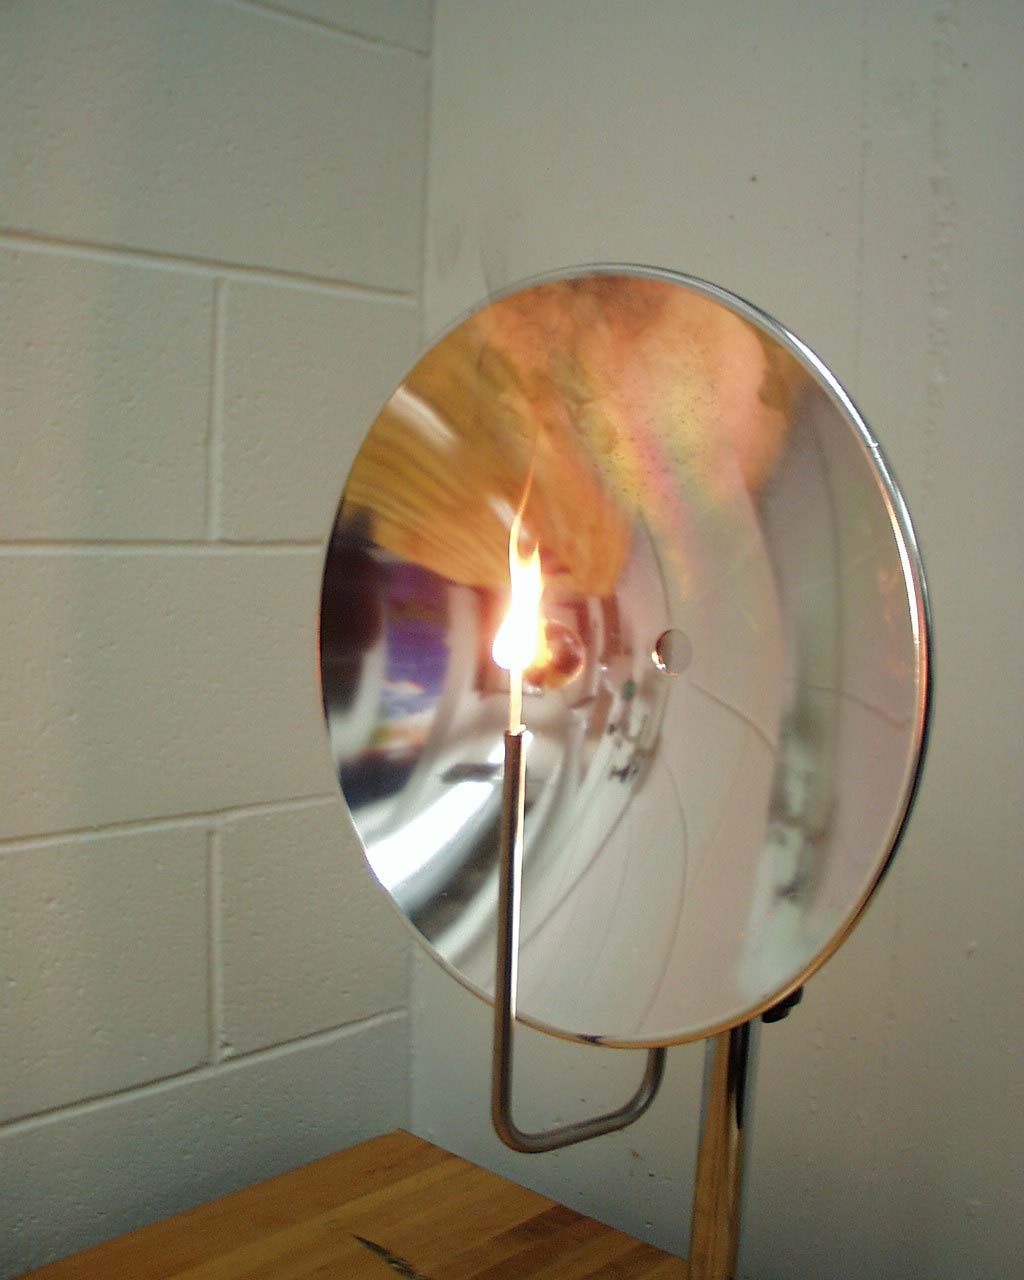
 Match at focal point Match at focal point
|
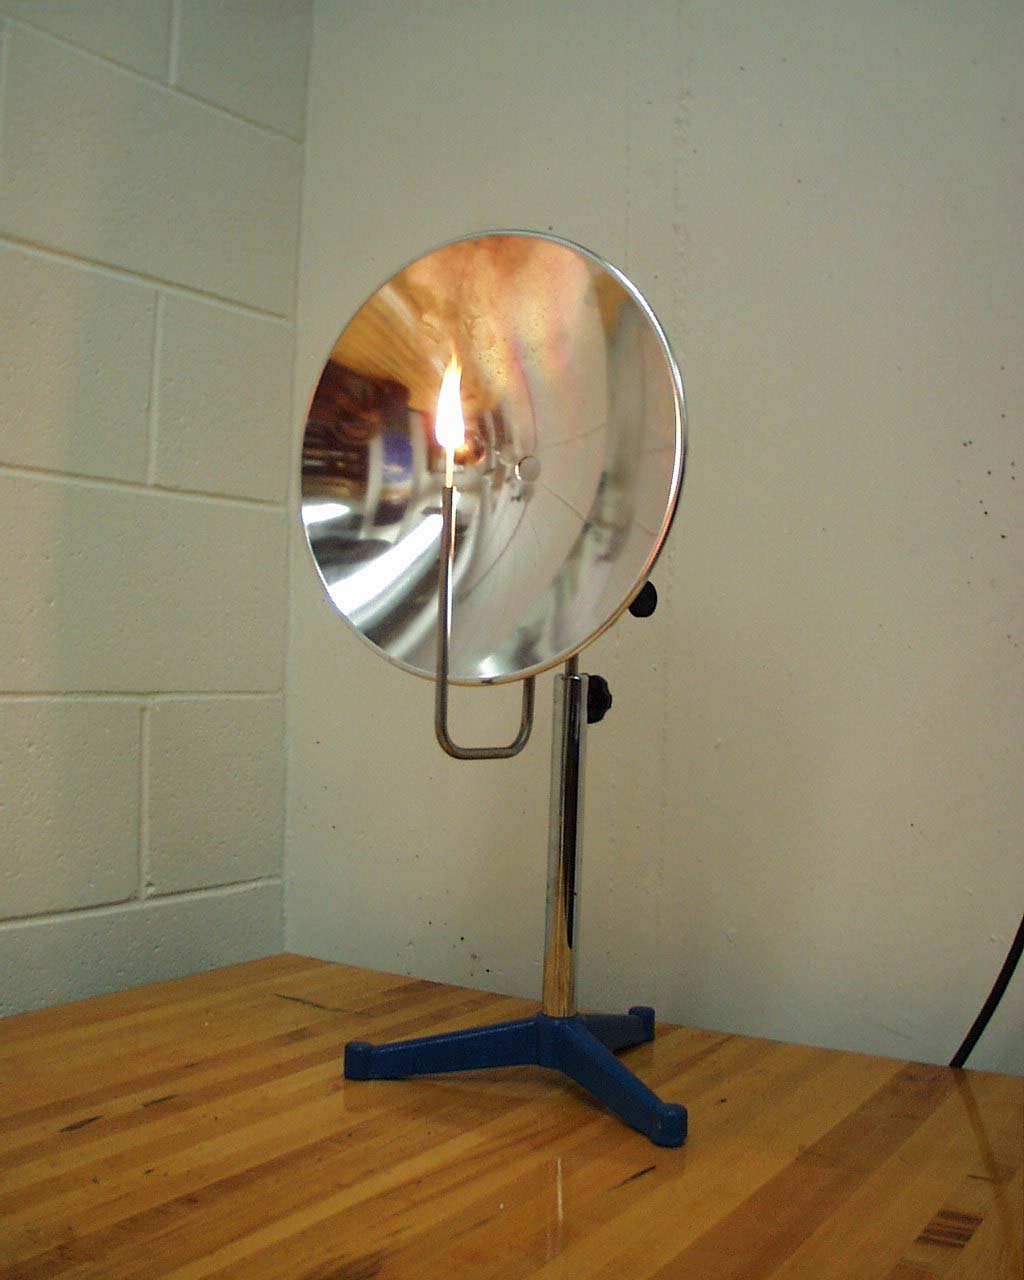 Match flares up [1] Match flares up [1]
|
 Match
flares up [2] Match
flares up [2]
|
|
Hubble Expansion Demo
(For more information, see Hubble Expansion)
Introduction
- So perhaps the concept of an expanding universe is a little more complicated than most people can grasp. Just trying to explain Hubble Expansion with words may leave many kids confused, but luckily, you can simulate an expanding universe with a hands-on demonstration.
First off, try talking about the universe as a whole. It's important to see what your kids think the universe is. They will probably say that the universe is everything--the stars, the planets, the galaxies... even us. In our discussion, we posed some questions for the kids: How old is the universe? How big is the universe? What will be the ultimate fate of the universe (Does the universe have an end)? After they gave us their answers, we told them what we do know about the universe. It is about 15 billion years old (that is much older than the Earth, which is about 4.6 billion years old). Nobody knows just how big the universe is because we can only "see" as far as light has travelled, which means that anything farther away than 15 billion light-years is still beyond our observation. Lastly, no one knows for sure what will be the ultimate fate of the universe, so that is what scientists today are trying to discover...
After "creating the mood," it should be easier to bring up the idea of an expanding universe. First, we stated what it meant for the universe to be expanding, and then we talked about Edwin Hubble and the crazy things he observed about the light from distant galaxies. Inevitably, the word redshift came up, so we gave a brief explanation by comparing it to Doppler Shift with sound waves (See Redshifting 101).
Finally, we get to the demo. Another way to think of an expanding universe is to imagine a balloon with a bunch of galaxy clusters stuck onto it. As you blow up the balloon, the individual galaxy groups start to move away from each other. The space that the universe occupies is actually getting bigger! (Note: it is important to stress that although distant groups of galaxies are moving away from each other, galaxies within a single group are not expanding away from each other because the force of gravity that draws them together can overcome the force of the expansion.)
Doing the Demo
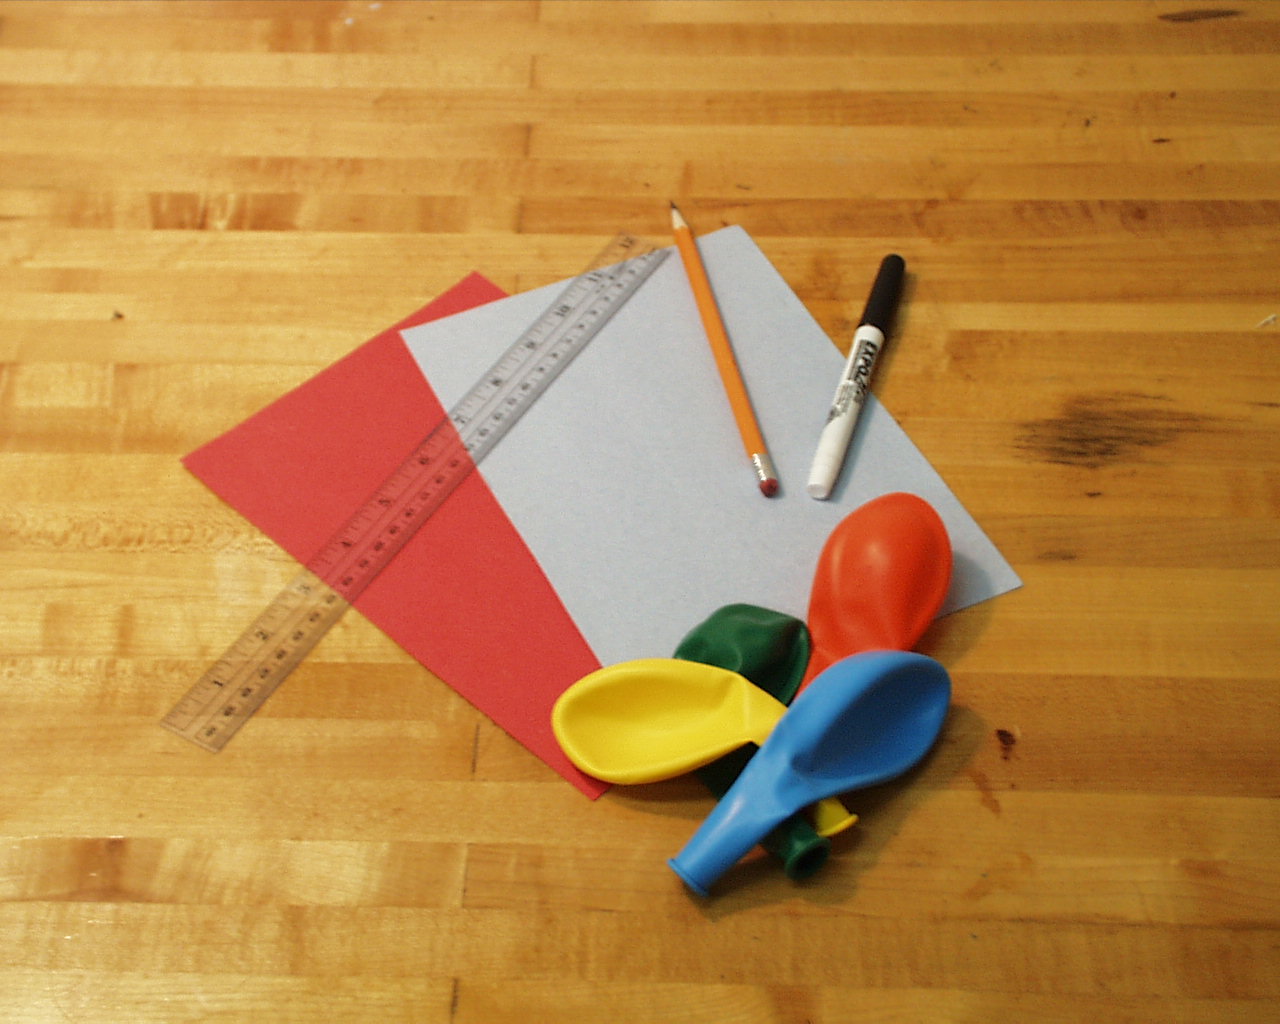
- a bunch of 12-15" balloons (two per group)
- a few dark-colored markers
- ruler (one per group)
- scissors
- tape
- pencil or pen to write down measurements
- pieces of construction paper to make galaxies
What you'll need:
PART I:
Step One:
- Students can either work individually or in groups. Each group should be given two balloons, a pencil, a marker, a ruler, and some construction paper. the students should draw about nine or ten individual galaxies per group on the construction paper and cut them out with scissors. Have one student blow up the balloon, and then stick the galaxies onto the balloon with tape. Make sure the paper galaxies are spread out pretty evenly on the balloon to simulate the general homogeneity of our own universe. After attaching the galaxies, the student can release the air.
Step Two: The Balloon Universe Expands
- Now instruct the student to blow up the balloon again, and ask the other students to observe what happens to the galaxies as the balloon expands. The will see that all the galaxies move away from each other, so in the real universe, every distant group of galaxies has a redshift because it is moving away from us.
PART II:
Step Three:
- First, have one student blow up the balloon, then take the marker and draw a single light wave all along the circumference of the balloon. Be sure to have them mark the peaks of two consecutive waves so that they can measure the distance between the two peaks easily. Then tell them to let out all the air in the balloon, lay the balloon on a flat surface, and use the ruler to measure the wavelength of their light wave from peak to peak. They should record the measurement in their notebooks.
Step Four:
- Now, ask one student to blow up the balloon again and tie off the end so that the balloon stays expanded. Instruct the students to measure the same wavelength that they measured before with a ruler and record this new measurement in their notebooks (Obviously, the second measurement will be longer than the first).
Drawing Conclusions:
- After taking all the measurements, ask the students to infer what might happen to light in an expanding universe (it helps if your students have a prior understanding of electromagnetic radiation--for ideas look at the Infrared Telescope Demo). When asked these questions, our students replied that the light waves "got bigger". They continued on to say that the wavelength of their light wave got longer as their balloon universe expanded. This meant that the light was redshifted, which is exactly what Hubble observed when he looked at distant galaxies.
|
|
 Supplies for
Demo Supplies for
Demo
|
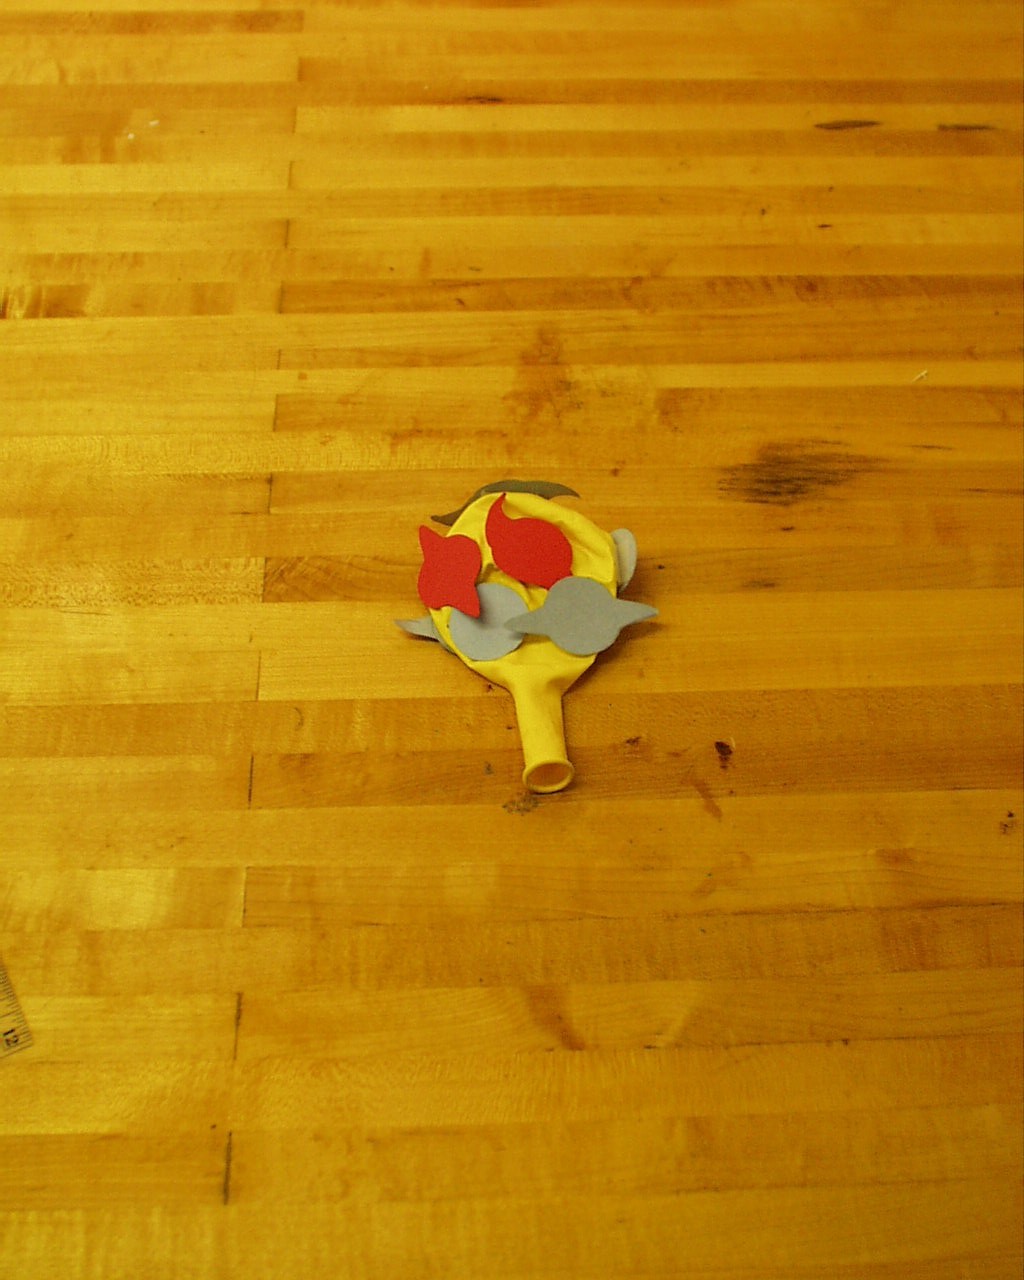 Deflated
balloon with attached galaxies Deflated
balloon with attached galaxies
|
|
|
|
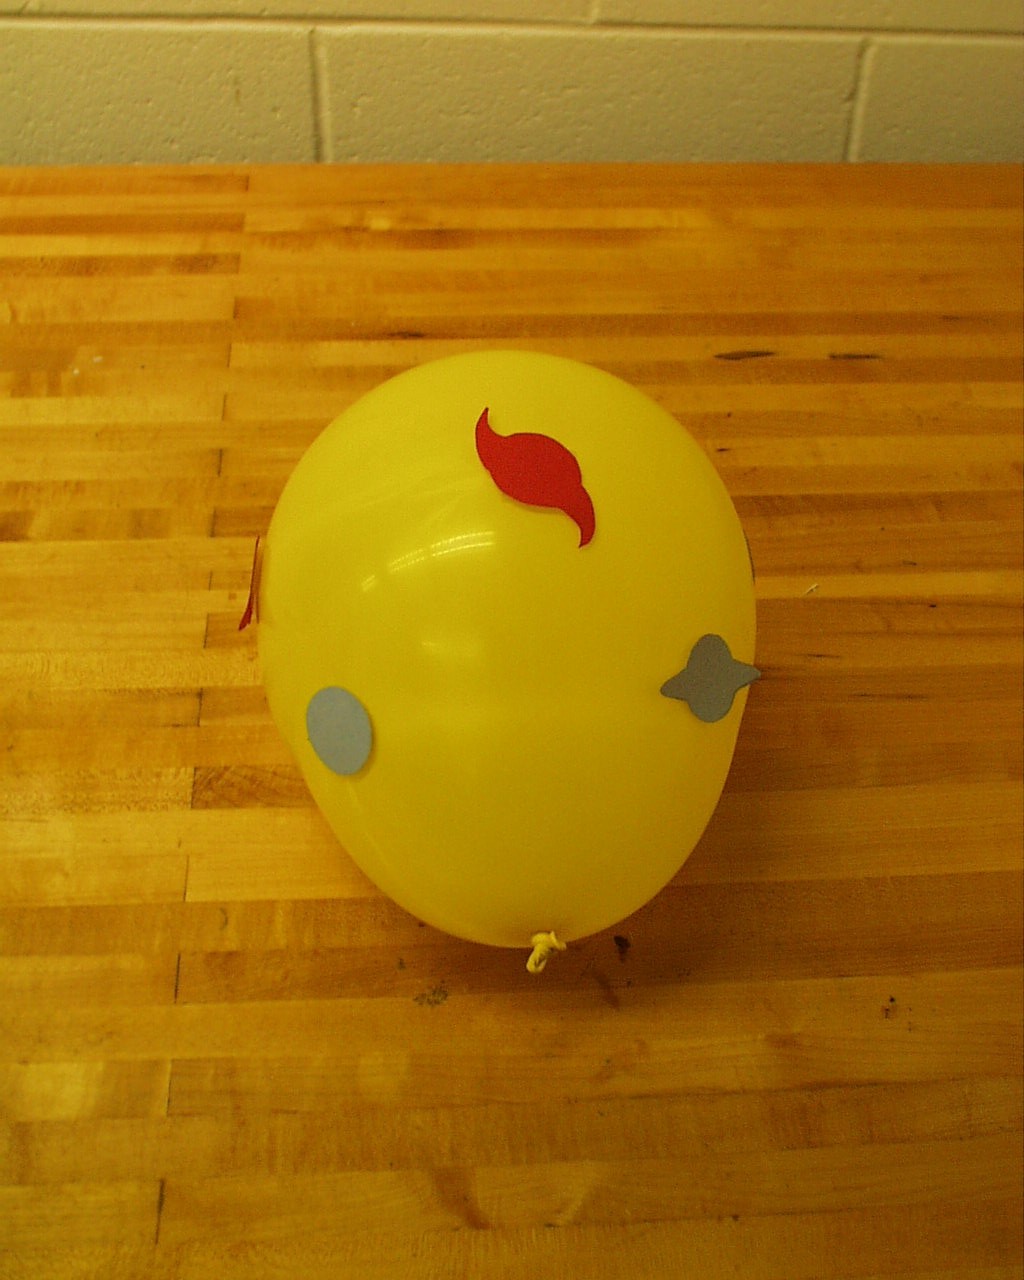 Expanded
balloon with attached galaxies Expanded
balloon with attached galaxies
|
 Measuring
wavelength on deflated balloon Measuring
wavelength on deflated balloon
|
|
|
|
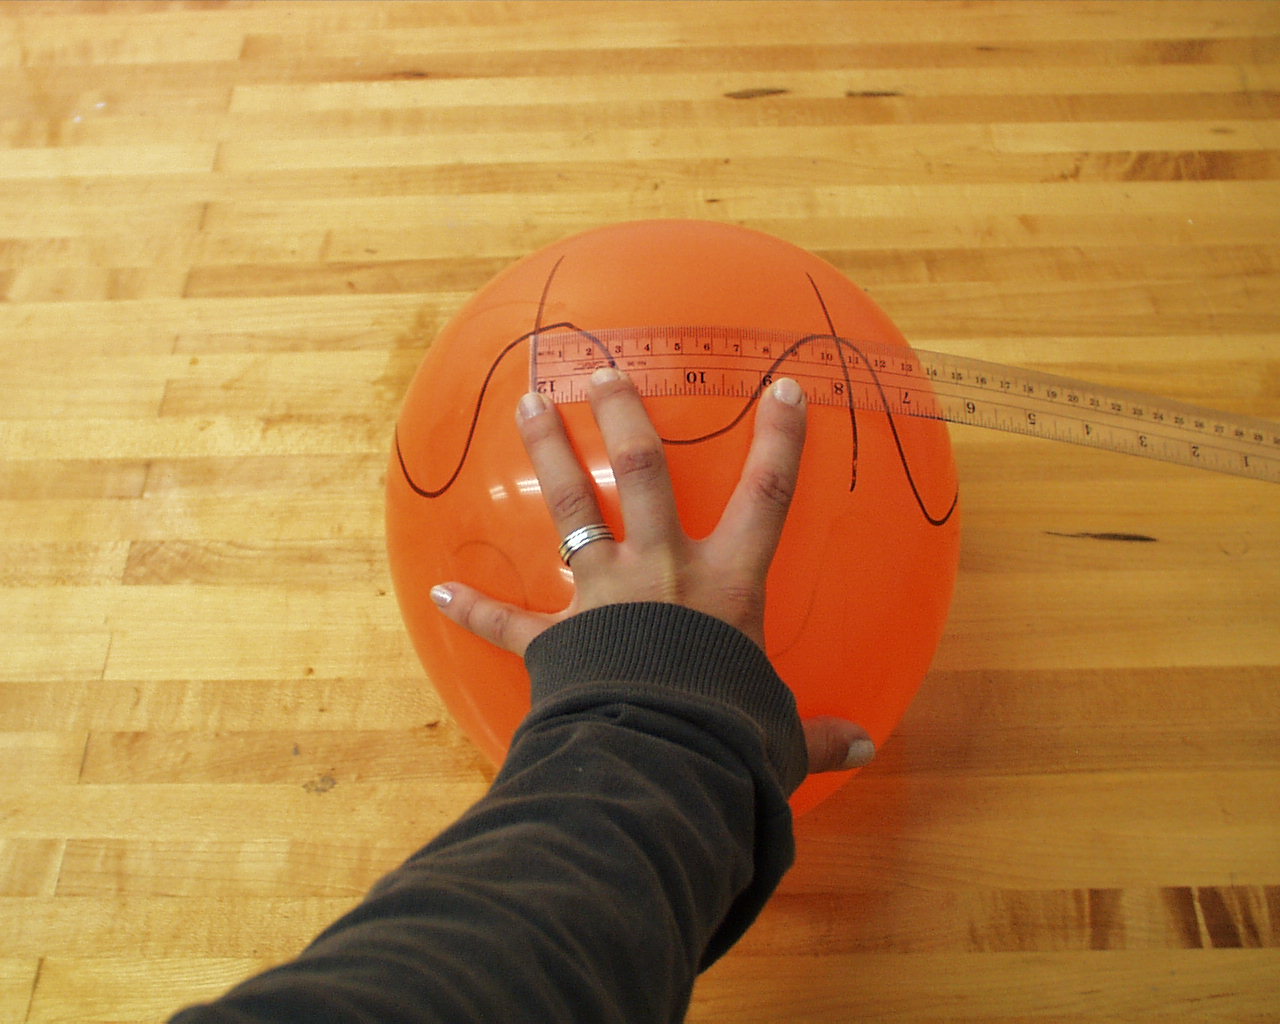 Measuring
wavelength on expanded balloon Measuring
wavelength on expanded balloon
|
|
|
| Home | Introduction | Brief History | Olbers' Paradox | Hubble Expansion | Big Bang Theory | Electromagnetic Spectrum | CMB | Glossary of Terms |